For many home sellers, scheduling professional real estate photography is the moment when selling suddenly starts to feel real. The photographer is booked, the listing date is approaching, and suddenly you are looking around your home wondering what exactly is supposed to stay, what needs to disappear, and whether those everyday things you barely notice are going to look completely different through a camera lens.
Do the kitchen counters need to be completely empty? Should you take furniture out of the living room? What happens to the dog bowls, bathroom toiletries, trash cans, towels, cords and everything else your family actually uses?
The good news is that your home does not need to look empty, sterile or completely unlike itself to photograph beautifully. What it does need is thoughtful preparation.
A strong real estate photography checklist is really about helping the camera see what you want buyers to notice first: the space, natural light, architectural details, room function and overall feeling of the home. The goal is not to erase the fact that real people live there. It is to remove enough visual noise that buyers scrolling through listing photographs can understand the home quickly and begin imagining themselves living in it.
That distinction matters because the camera sees a room differently than we do. Items that feel insignificant when you walk through your house every day can become surprisingly prominent once everything is compressed into a single photograph. NAR (National Association of Realtors®) specifically advises sellers to understand the camera’s perspective because clutter and furniture arrangements can look more jumbled online than they do in person.
As both a Realtor® and Certified Home Stager, I look at professional photography as part of the overall presentation strategy—not something that happens after the rest of the preparation is finished almost by accident.
Here are the 15 things I recommend checking before your real estate photographer arrives.
Prefer to Watch? See My Real Estate Photography Checklist on YouTube
If you’d rather see these recommendations in action, watch the full video below, where I walk through all 15 steps and show how small changes can affect the way a home photographs.
15 Things to Do Before Your Real Estate Photographer Arrives

Real Estate Photography Checklist #1: Finish the Major Decluttering First
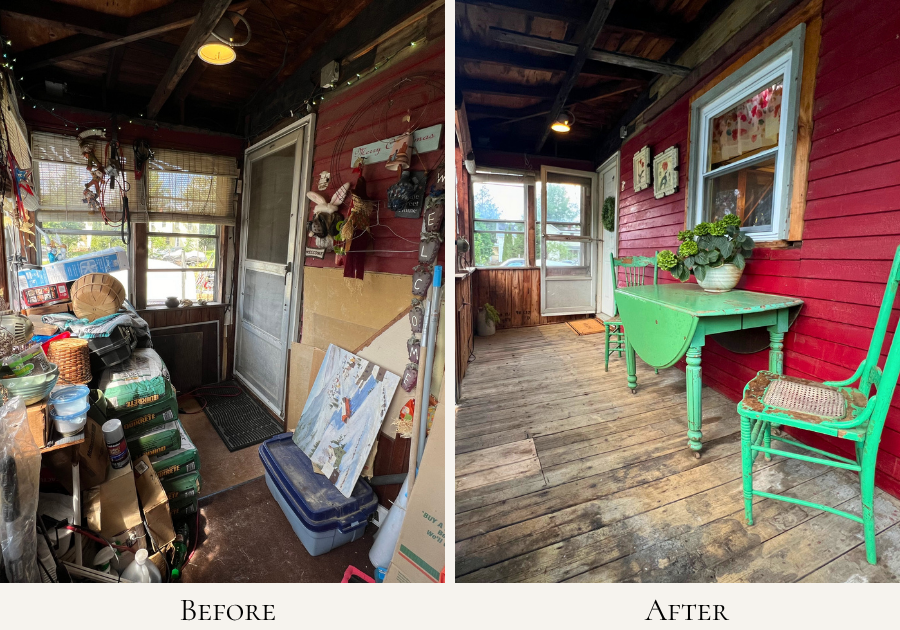
Professional photography day should not be the day you begin decluttering your house. By that point, the larger decisions should already be made: excess furniture should be moved, overflowing surfaces should be edited, boxes should be stored, and each major room should have a clear purpose.
That does not mean every shelf needs to be empty or every personal possession needs to disappear. A home can still feel warm and lived-in while being visually calm. Instead, look at what each object contributes to the photograph. Does it help buyers understand how the room functions? Does it reinforce an attractive feature? Does it add warmth or character? Or is it simply occupying visual space?
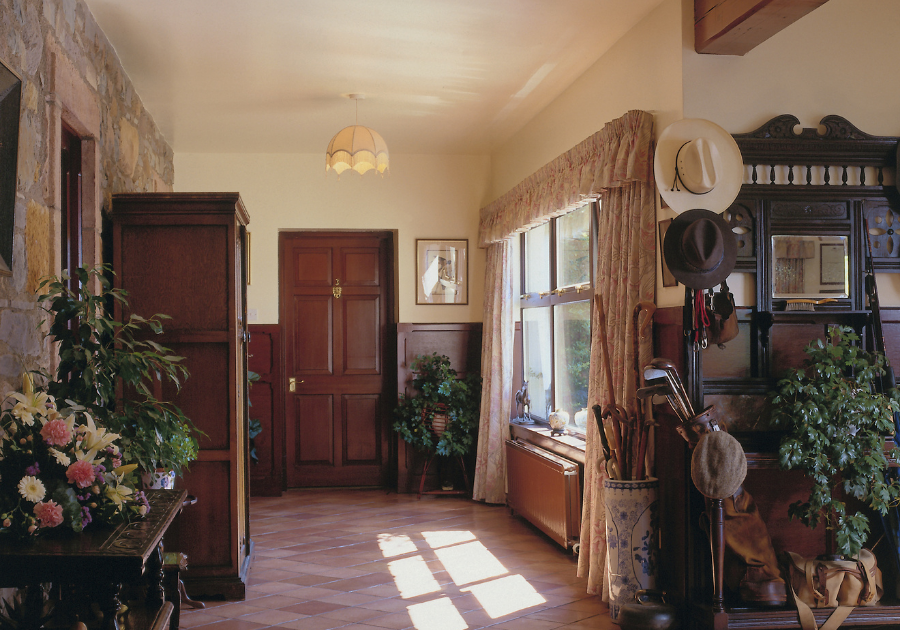
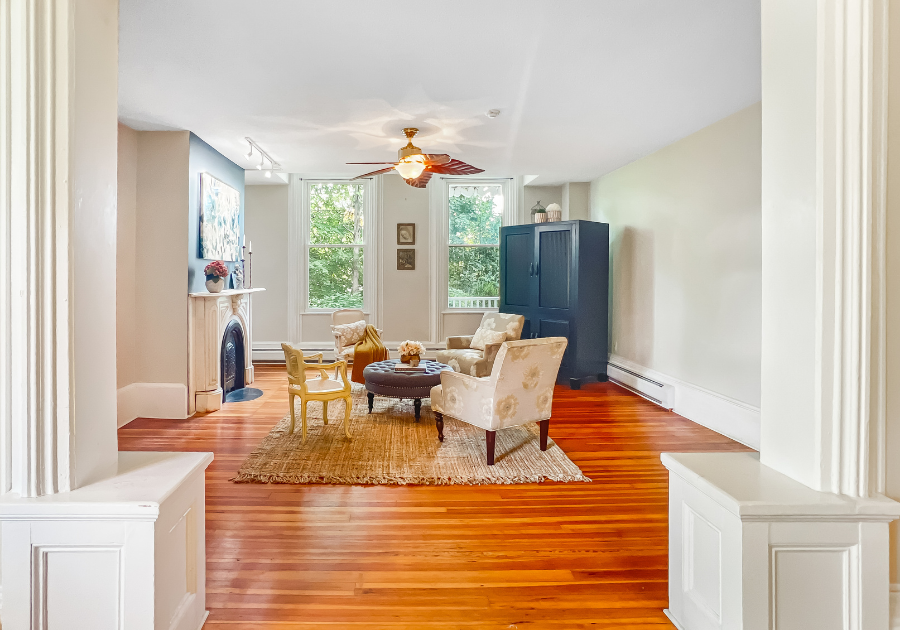
This becomes especially important in older homes, where rooms may already contain strong architectural features, unusual layouts, original millwork or years of collected furniture and belongings. The goal is not to make an older house look like new construction. It is to create enough breathing room for buyers to actually see what makes that home special.
Real Estate Photography Checklist #2: Remove Excess Furniture
Furniture helps buyers understand the scale and purpose of a room, but too much furniture can have the opposite effect. A living room may comfortably accommodate several chairs, end tables, ottomans and storage pieces in everyday life, yet all of those pieces can make the same room appear smaller once photographed.
Start by identifying anything blocking a doorway, window, fireplace, built-in, architectural feature or natural walking path. Small furniture can be particularly problematic because several little tables, stools, storage cabinets and plant stands visually break a room into smaller pieces.
Often you do not need a dramatic transformation. Moving one chair, one table or one rug may be enough to give the photograph a much cleaner line of sight. The objective is not to prove how much furniture fits in the room. It is to help buyers see the room itself.
Real Estate Photography Checklist #3: Clear Most Kitchen Counters
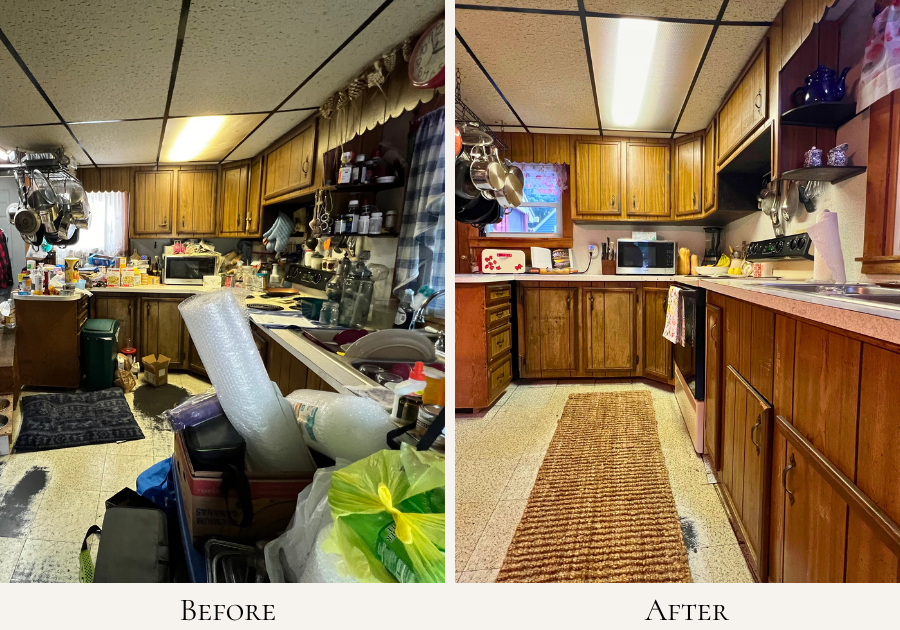
Kitchen counters tend to collect the necessities of everyday life: coffee makers, toasters, dish soap, paper towels, medication, mail, water bottles, cutting boards and whatever else landed there during the week. None of those things feels particularly distracting when you live in the house, but together they can quickly make a kitchen appear smaller and busier in photographs.
Before photography, remove most small appliances and everyday supplies. Pay particular attention to the sink area. Dish-drying racks, sponges, brushes, soap bottles and dishes can visually dominate an otherwise beautiful counter top.
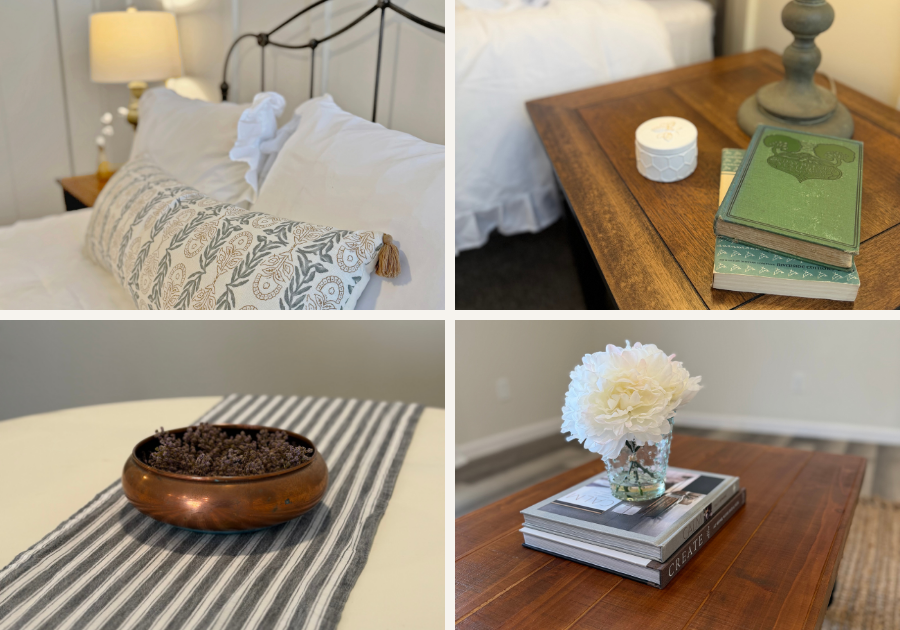
You do not necessarily need completely bare counters. One or two intentional pieces—a simple bowl, attractive cutting board, plant or restrained coffee setup—can provide warmth. The important part is that buyers see the counter top space they are purchasing rather than a collection of household items.
Real Estate Photography Checklist #4: Simplify the Bathrooms
Bathrooms contain a surprising amount of visual clutter in a very small space. Toothbrushes, makeup, medication, razors, hair products, cleaning supplies, bath toys and shower products may barely register in person, but the camera captures them all at once.
Clear the counter tops and shower or tub area before the photographer arrives. Close toilet lids, remove trash cans and put away cleaning supplies. If you leave anything visible, keep it simple: an attractive soap dispenser, a plant if the room has space, or neatly arranged towels may be enough.
The bathroom should still feel inviting, but it should not look staged within an inch of its life. The best presentation usually feels calm and believable.
Real Estate Photography Checklist #5: Hide Visible Cords and Electronics
Visible cords have an irritating ability to become much more noticeable in photographs than they are in real life. Phone chargers, extension cords, television cables, power strips, laptop chargers and electronic accessories can create distracting lines across floors, furniture and walls.
Bundle or conceal cords wherever practical, put away extra remotes and game controllers, and turn off television and computer screens. You do not need to pretend that technology does not exist, but it should not become the focal point of the room.
This is one of those tiny tasks that takes only a few minutes but contributes to the overall feeling that the house has been thoughtfully prepared.
Real Estate Photography Checklist #6: Straighten and Simplify the Bedding
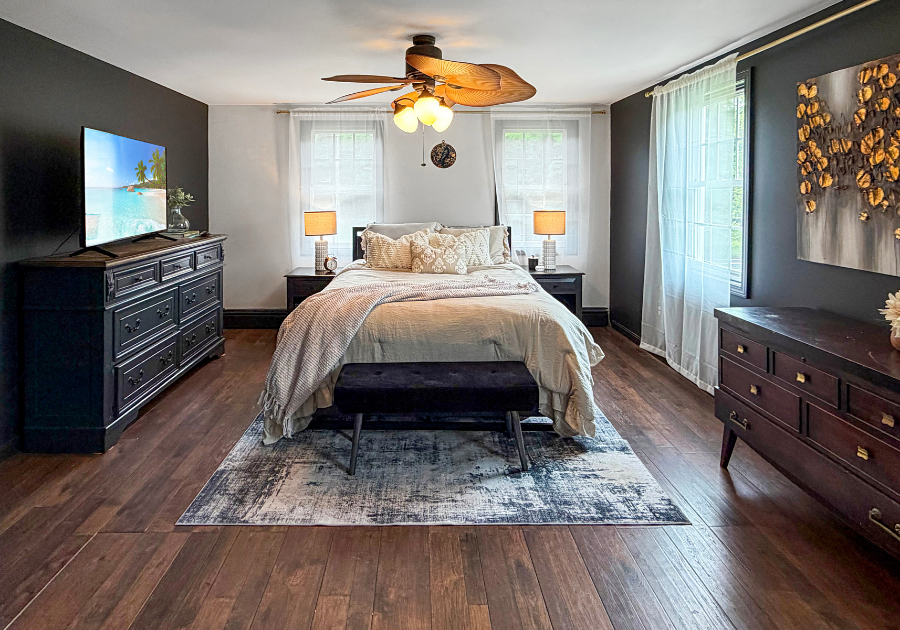
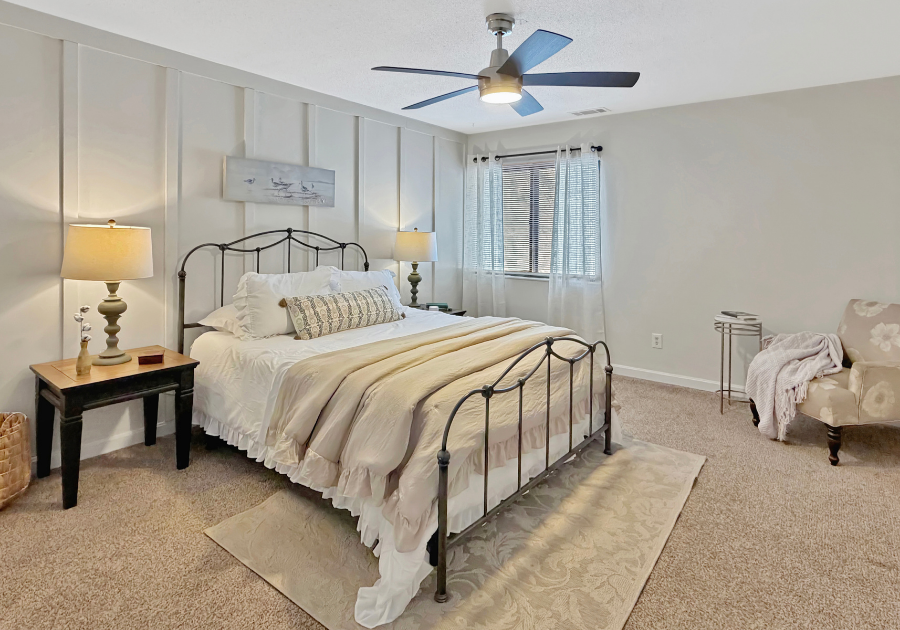
The bed is usually the largest single object in a bedroom, which means its appearance influences the entire photograph. Rumpled bedding, uneven pillows or an overly complicated collection of decorative cushions can make the room feel unfinished or crowded.
Center the comforter, quilt or duvet. Fluff the pillows, straighten the edges and hide anything that is unintentionally exposed. If the existing bedding is extremely busy, damaged or heavily patterned, a simpler coverlet may photograph better.
You do not need a hotel-style bed with twelve pillows. The goal is simply for the bed to make the room feel comfortable, balanced and finished.
Real Estate Photography Checklist #7: Pay Attention to the Towels
Towels sound like an insignificant detail until you see how much space they occupy in a bathroom photograph. Mismatched colors, worn edges, busy patterns or towels hanging at different heights can make the room feel visually messy even when it is perfectly clean.
Use fresh towels in one simple, coordinated color. White works well, but it is certainly not mandatory. A muted blue, sage, cream or other color that complements the room can work beautifully.
Fold or hang them evenly and remove extras. Most importantly, make sure the towels are not hiding an attractive vanity, back splash, sink or interesting hardware. They should support the photograph rather than become the first thing buyers notice.
Real Estate Photography Checklist #8: Open the Curtains—but Check What Buyers Will See
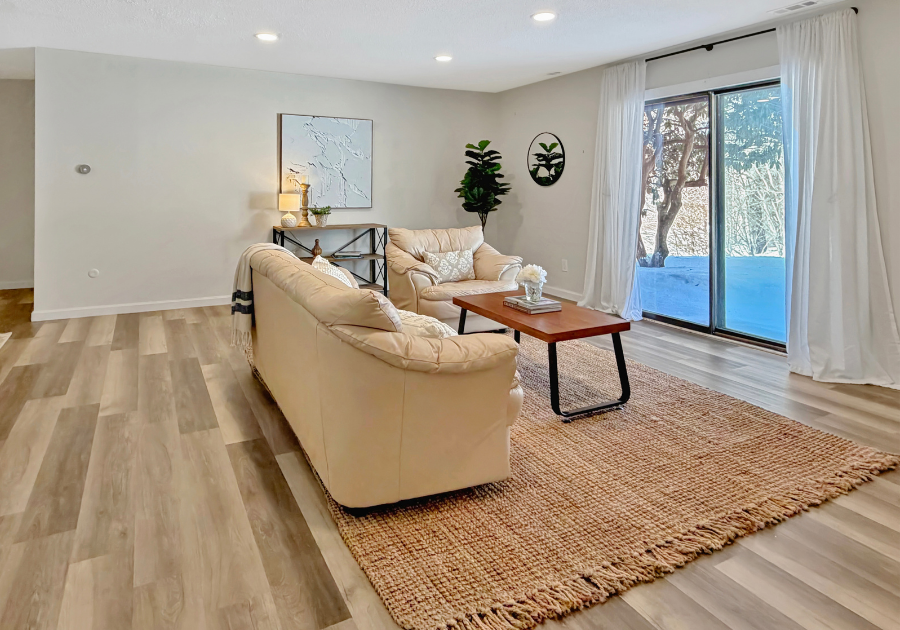
Natural light can make a tremendous difference in real estate photography, so in most situations I recommend opening curtains and raising or opening blinds before the photographer arrives.
But there is a second part sellers sometimes miss: look through the window.
If the camera can see a trash bin, garden hose, parked vehicle, children’s toys or equipment outside, move those items when practical. A beautiful yard or mature landscape can become part of the photograph; clutter immediately outside the glass can become a distraction.
Inside, make sure curtain panels hang evenly and blinds are raised to approximately the same height. Clean obvious marks from windows and sills. Light matters, but so does the entire view.
NAR similarly recommends opening blinds and taking practice photographs to identify distracting elements before the professional photographer arrives.
Real Estate Photography Checklist #9: Check Every Light and Light Bulb
Walk through the house and test every ceiling fixture, lamp, bathroom vanity light, under-cabinet light and other fixture the photographer may use. Replace burned-out bulbs and pay attention to significantly mismatched bulb temperatures within the same fixture.
A room where one bulb is bright white and another is deeply yellow can look inconsistent on camera. You do not necessarily need to replace every light bulb in the house, but the fixtures within the same room should feel reasonably cohesive.
Straighten lampshades, dust obvious fixtures and make sure lamps feel intentionally positioned. Professional photographers will make their own lighting decisions, but giving them working and visually consistent options makes their job easier.
Real Estate Photography Checklist #10: Hide Trash, Cleaning Supplies and Laundry
Trash cans, vacuums, brooms, mops, laundry baskets and cleaning supplies communicate the work required to maintain a home rather than the experience of living there.
Temporarily put these things away before photography. Clear detergent containers and loose supplies from the top of the washer and dryer. Remove laundry from bedrooms and bathrooms. Hide cleaning tools that might otherwise appear behind doors or in corners.
The room should still communicate its function. Buyers certainly understand what a laundry room is for. They simply do not need to see the week’s laundry to understand it.
Real Estate Photography Checklist #11: Put Away Most Pet Supplies
Pets are family, and there is no need to pretend a dog or cat has never stepped inside the house. However, pet bowls, beds, litter boxes, scratching posts, toys and crates can quickly take up a surprising amount of visual space.
Collect toys, wash and put away bowls, vacuum visible hair and temporarily move beds or crates if they interfere with a room’s layout. Litter boxes should ideally not appear in listing photographs.
It is also wise to make a plan for your pets during the photography appointment. The photographer may need doors open, rooms accessible and exterior spaces clear, so having pets safely secured or out of the house can make the session much easier.
Real Estate Photography Checklist #12: Remove Personal or Sensitive Information
Remember that professional listing photographs may eventually be seen by thousands of people online. Before photography, check counter tops, desks, refrigerator doors and bulletin boards for information you would not want publicly visible.
Put away mail, prescription bottles, work documents, school schedules, calendars, bills and anything displaying personal contact or account information. Turn off computer monitors and check backgrounds carefully.
Family photographs require more nuance. You do not necessarily need to remove every personal photograph, but reducing large galleries can help buyers focus on the home while also protecting some of your privacy.
Real Estate Photography Checklist #13: Straighten All the Little Lines
This is the final polish that makes a room feel intentional.
Push chairs in evenly. Straighten lampshades. Center rugs. Adjust curtains. Level blinds. Close drawers and cabinet doors completely. Straighten wall art. Fluff pillows. Arrange towels evenly. Check shower curtains and closet doors.
None of these details seems terribly important on its own, but photographs freeze everything in place. Once the room becomes a static image on someone’s screen, small crooked lines become much more obvious.
This is exactly why preparing for photography is different from simply cleaning the house.
Real Estate Photography Checklist #14: Prepare the Exterior Too
The exterior may be the very first photograph a buyer sees, yet sellers often spend nearly all of their preparation time inside.
Before your photographer arrives, move vehicles away from the house when possible, put away trash and recycling bins, coil garden hoses, remove tools and toys, sweep porches and walkways, straighten outdoor furniture and clear anything unnecessary from the front entry.
Take a close look at the front door and porch. A clean entry, attractive mat, tidy planters and working exterior lights can help the home feel cared for before buyers ever see the interior.
Professional listing photography typically includes exterior images because buyers want to understand the property as a whole, and consumer home-search platforms continue to emphasize the importance of professional listing imagery in the online home-shopping process.
Real Estate Photography Checklist #15: Take Your Own Phone Photos Before Photo Day
If you take only one idea from this real estate photography checklist, make it this one.
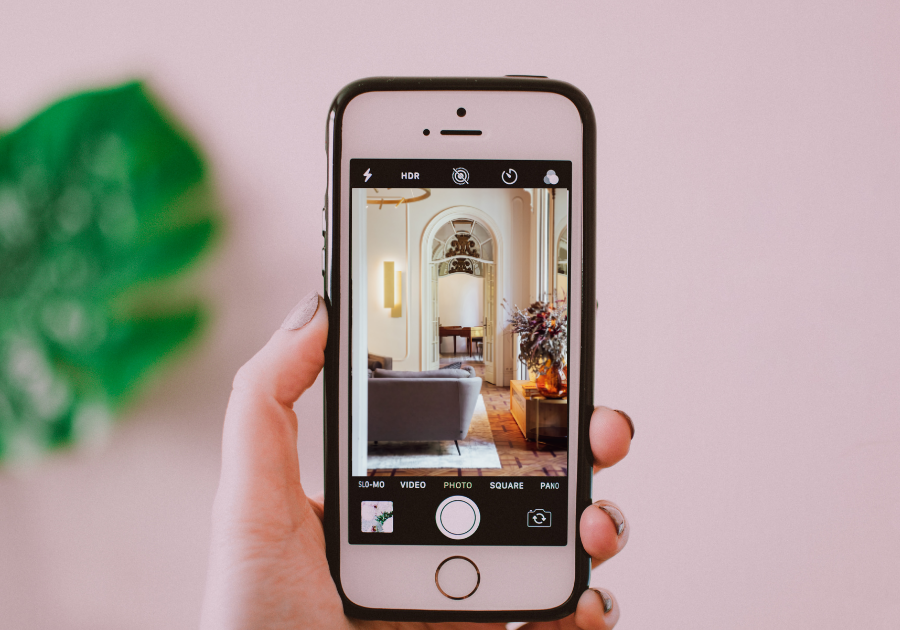
A few days before professional photography, stand in each doorway and take a quick photograph with your phone. Then stop looking at the room itself and look at the picture.
Our eyes become accustomed to the objects we see every day. The camera does not have that familiarity. Once the room is flattened into a photograph, you may suddenly notice that a chair blocks the fireplace, a rug divides the room strangely, bedding is uneven, blinds are crooked or several small accessories compete for attention.
Make one or two adjustments, then take another photograph.
You are not trying to become a professional real estate photographer. You are simply using your phone as an editing tool before the professional arrives. NAR also specifically recommends sellers take practice photographs because doing so can reveal problems with furniture arrangement, clutter and lighting that may not be obvious when standing in the room.
The earlier you do this, the better. It gives you time to make thoughtful changes instead of frantically shifting things from room to room fifteen minutes before the photographer arrives.
How This Checklist Changes for an Older Home
If you own a historic, antique or character-filled home, preparing for professional photography requires a slightly different mindset.
Original woodwork, wide-plank flooring, fireplaces, built-ins, vintage hardware, old doors and unusual architectural details are not imperfections that automatically need to disappear. Often those are exactly the features buyers will remember.
Your job is to give those details enough visual room to be noticed.
That may mean removing a small table that blocks original millwork, reducing a collection on a fireplace mantel or moving furniture away from an interesting window. It does not mean making the house completely neutral or trying to force a 150-year-old property to resemble new construction.
That philosophy is central to how I approach older homes: preserve the features that contribute to the home’s identity while editing the distractions that make those features harder to appreciate. My Historic Home Seller Guide goes much deeper into what older-home buyers notice, what may be worth updating, what may be worth leaving alone, and how staging and photography can highlight rather than erase character.
Use This Photo-Ready Checklist Before Your Final Walk-Through
About an hour before the photographer arrives, you should no longer be making major staging decisions. Instead, perform one final visual reset.
Open the curtains. Turn on working lights. Close toilet lids. Put away last-minute toiletries and dishes. Empty visible trash cans. Straighten bedding and towels. Move vehicles away from the exterior. Secure pets. Check that the photographer has clear access to every area expected to be photographed.
If you need a temporary holding place for the last few items, choose one location the photographer will not need—a vehicle, designated storage area or another agreed-upon space. Avoid moving clutter from room to room while photography is underway.
The best photography appointments tend to feel uneventful. The home has already been prepared, the photographer can move efficiently, and their attention can remain on lighting, composition and capturing the strongest features rather than waiting for another room to be rearranged.
A Beautiful Listing Photo Starts Before the Camera Comes Out
Professional real estate photography is an important part of marketing a home, but great photographs do not begin when the photographer arrives. They begin with thoughtful preparation.
You do not need to make your home empty. You do not need to erase all personality. And you certainly do not need to buy an entirely new house worth of décor.
Instead, clear enough visual noise that buyers can understand the space. Give architectural features room to breathe. Let natural light work for you. Straighten the details. Remove the reminders of everyday chores. And use your own phone to see what your eyes may have learned to overlook.
For an older or character-filled home, that preparation becomes even more important. These homes often have details that simply cannot be recreated in new construction. The goal should never be to erase those qualities simply for the sake of looking “updated.”
Keep the character. Edit the distractions. Clarify the story.
If you are considering selling an older, historic or character-filled home in Central Massachusetts, download my free Historic Home Seller Guide. It covers what buyers notice, what may be worth preserving, how staging can highlight original features, and how thoughtful presentation helps your home make a stronger first impression.
And if you would rather have help deciding what stays, what moves and what deserves attention before photography, that is exactly the kind of planning I build into my seller and staging process.
Every Detail Matters. Every Home Tells a Story.